If you’re using Windows Autopilot pre-provisioning, you’ve probably noticed this: devices that are technically enrolled in Intune but still sitting in a warehouse or supply chain show up in Microsoft Defender for Endpoint as risky or non-compliant. Why? Because they’re not receiving updates.
This skews your compliance reports and risk dashboards. And if you’re like me, you want those reports to reflect the real state of your active device fleet, not the ones still waiting to be unpacked.
Let’s fix that.
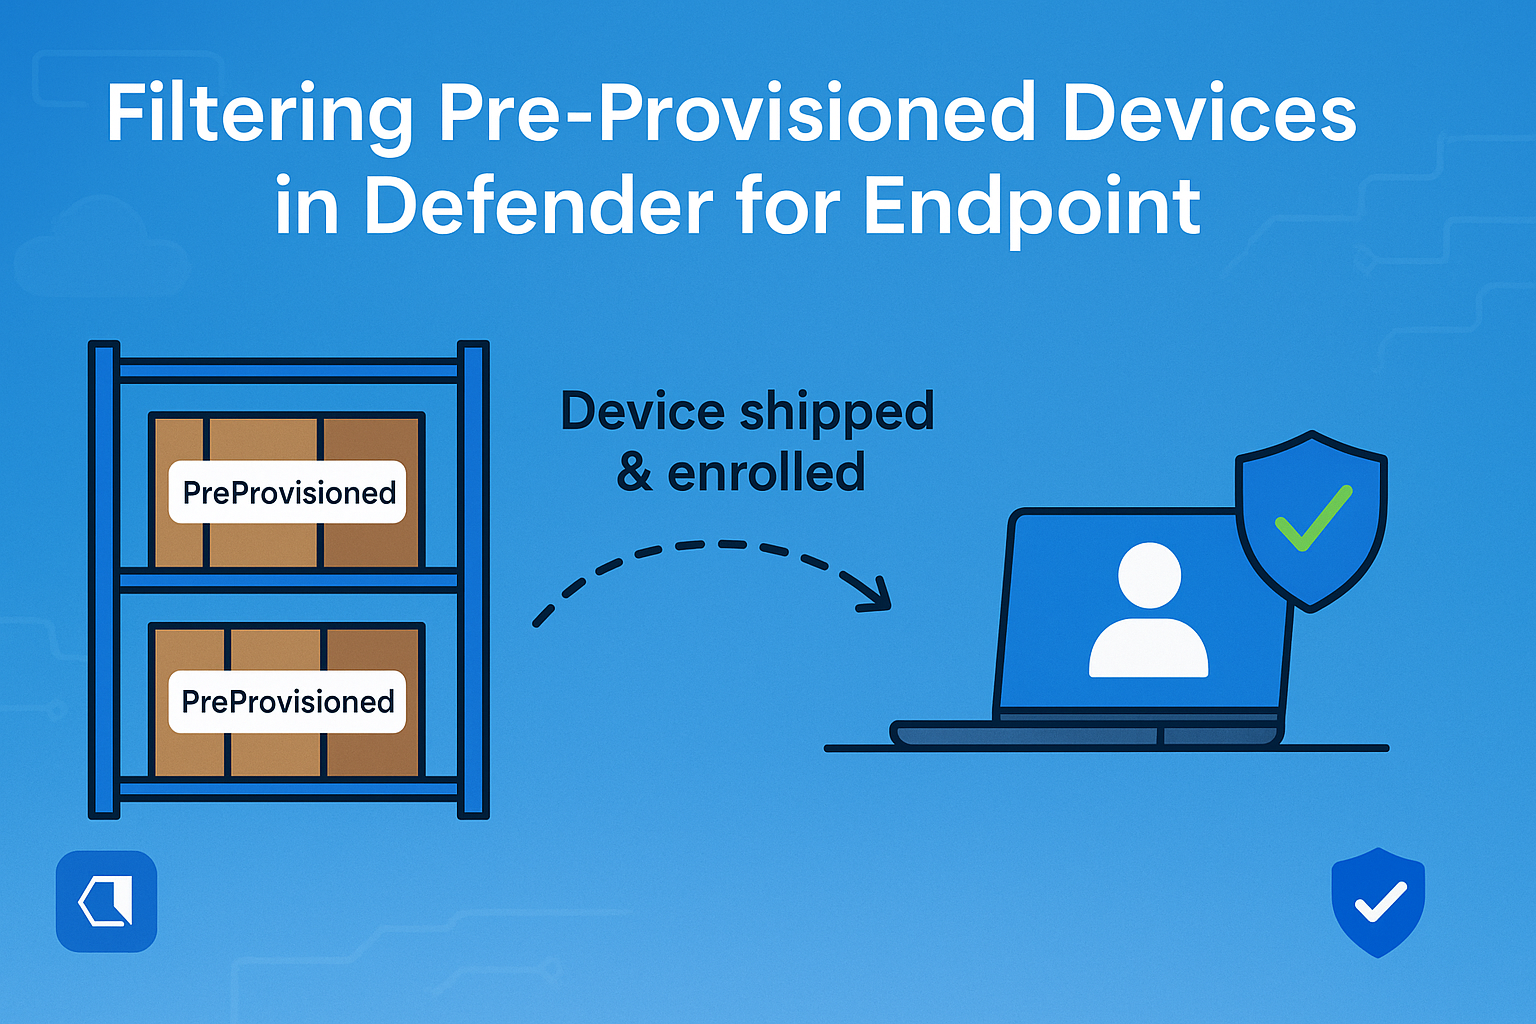
The Issue with Pre-Provisioned Devices
Pre-provisioning is great—it saves time, reduces setup friction, and makes life easier for both IT and end users. But there’s a catch: these devices are often stored for days or weeks before they’re handed out. During that time, they’re:
- Enrolled in Intune
- Not receiving updates
- Not checking in with Defender for Endpoint
Eventually, Defender marks them as risky, and they show up in your reports as non-compliant. That’s not helpful when you’re trying to assess the health of your actual, in-use endpoints.
The Fix: Tagging and Untagging Devices Automatically
To keep your reports clean, I use a simple method: tag the device as “PreProvisioned” during the Autopilot process, and then remove that tag automatically once the device becomes active.
Here’s how I do it.
Step 1: Tag the Device with a Platform Script
During the pre-provisioning phase, I assign a platform script to the device via Intune. This script runs once and sets a registry key that Defender for Endpoint uses to identify device groups.
Here’s the script:
# Array with registry keys and values to set
$registryItems = @(
    [PSCustomObject]@{
        Path  = "HKLM:\SOFTWARE\Policies\Microsoft\Windows Advanced Threat Protection\DeviceTagging"
        Name  = "Group"
        Type  = "String"
        Value = "PreProvisioned"
    }
    # Add more registry items here if needed
)

# Function to set a registry key and value
function Set-RegistryKeyValue {
    param (
        [string]$path,
        [string]$name,
        [string]$type,
        [string]$value
    )
    if (-not (Test-Path $path)) {
        New-Item -Path $path -Force | Out-Null
    }
    Set-ItemProperty -Path $path -Name $name -Value $value -Type $type -Force
}

# Set all registry keys and values
foreach ($item in $registryItems) {
    Set-RegistryKeyValue -Path $item.Path -Name $item.Name -Type $item.Type -Value $item.Value
}

# Restart Defender service to apply tagging
Restart-Service Sense
This ensures the device is marked as PreProvisioned before it goes into storage, and Defender for Endpoint picks up the tag.
Step 2: Remove the Tag with a Remediation Script
Once the device is shipped and enrolled by the end user, it becomes active. At this point, I use a proactive remediation script in Intune to detect the PreProvisioned tag and clear it.
This way, the device transitions from “inactive” to “active” automatically, and starts showing up correctly in Defender for Endpoint reports.
# Detection script
$tag = Get-ItemPropertyValue -Path "HKLM:\SOFTWARE\Policies\Microsoft\Windows Advanced Threat Protection\DeviceTagging" -Name "Group"
if ($tag -eq "PreProvisioned") { exit 1 } else { exit 0 }

# Remediation script
Set-ItemProperty -Path "HKLM:\SOFTWARE\Policies\Microsoft\Windows Advanced Threat Protection\DeviceTagging" -Name "Group" -Value ""
Restart-Service Sense
Step 3: Filter Reports in Defender for Endpoint
In Defender for Endpoint, use filters or device groups to exclude the PreProvisioned devices from your reporting views. This way, you’re only seeing data from devices that are actually in use.
Final Thoughts
Pre-provisioning is a solid deployment strategy, but it needs a bit of extra care when it comes to reporting. By tagging devices during setup and clearing the tag when they go live, you get a much cleaner view of your environment—and avoid chasing false positives.